
 LinkBack URL
 About LinkBacks
In this motion design course, instructor Nick Harauz will take you through creating a HUD landscape with the help of Cinema 4D and After Effects. We'll start off by creating a loopable rotating landscape in Cinema 4D through a non-traditional method with Volumes. We'll then export our landscape as an AEC file and then stylize inside of After Effects using a variety of Effects.
Video: 1920x1080, .mp4, 30 fps | Audio: AAC-LC, 163 kb/s 2 channels, 48.0 KHz | Genre: eLearning
Software: Cinema 4D & After Effects | Duration: 59 Min | Language: English | File size: 998 MB
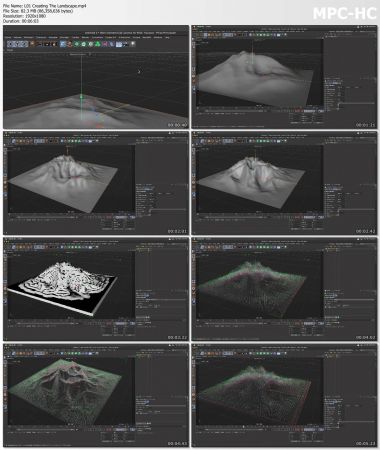
LESSON 01: CREATING THE LANDSCAPE
We'll set up our Cinema 4D project and create a basic landscape. We'll then take that landscape and place it inside the Volume builder to create a stylized look.
LESSON 02: CURLING THE VECTORS AND ANIMATING WITH FIELDS
In this lesson, we'll look at how we can modify our vectors as well as use fields to animate them on screen
LESSON 03: CAMERA AND NULLS
Now, we'll add an animated camera and nulls to our scene at the position of some of our vectors
LESSON 04: EXTERNAL COMPOSITING AND RENDER SETUP
We'll continue to add some external compositing tags to the null objects, so that we can see them in After Effects and then setup our render so it references the viewport
LESSON 05: VIEWPOST RENDERER AND AAC FILE
We'll look at the the viewport renderer and AAC file
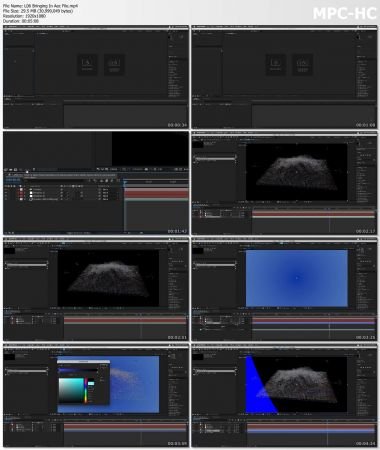
LESSON 06: BRINGING IN THE AEC FILE
In this lesson we'll look at how we can bring in an AEC file and setup our composition in After Effects
LESSON 07: SET CHANNELS
We'll use the set channels effect on duplicate copies of the Landscape to add some distortion
LESSON 08: ADDING TEXT
In this lesson, we'll add and attach some After Effects 3D Text to one of the nulls from Cinema 4D
LESSON 09: RADIO WAVES
Now it's time to add the After Effects Radio Waves effect, adjust its properties and position it so that it's referencing the 2nd null from Cinema 4D
LESSON 10: LIGHT YOUR 3D OBJECTS
We'll add some After Effects lights to illuminate the text and Radio Waves
LESSON 11: STYLIZING THE COMP
In this last lesson, we'll add texture, color correct our piece and add some grain to the final look
Screenshots
Download link:Kod:rapidgator_net: https://rapidgator.net/file/ac949f373ca405221339611a991f3edc/yupqg.Lowepost..Hud.Landscape.in.Cinema.4D..After.Effects.part1.rar.html https://rapidgator.net/file/7be85725548a22a74dc967a5cfe3b775/yupqg.Lowepost..Hud.Landscape.in.Cinema.4D..After.Effects.part2.rar.html nitroflare_com: https://nitroflare.com/view/D90BA1CD87BE98F/yupqg.Lowepost..Hud.Landscape.in.Cinema.4D..After.Effects.part1.rar https://nitroflare.com/view/A8A85BCE7081588/yupqg.Lowepost..Hud.Landscape.in.Cinema.4D..After.Effects.part2.rarLinks are Interchangeable - No Password - Single Extraction

1 sonuçtan 1 ile 1 arası
-
20.06.2021 #1Üye


")
- Üyelik tarihi
- 20.08.2016
- Mesajlar
- 150.962
- Konular
- 0
- Bölümü
- Bilgisayar
- Cinsiyet
- Kadın
- Tecrübe Puanı
- 160
Lowepost - Hud Landscape in Cinema 4D & After Effects


 Alıntı
Konu Bilgileri
Users Browsing this Thread
Şu an 1 kullanıcı var. (0 üye ve 1 konuk)

Konuyu Favori Sayfanıza Ekleyin